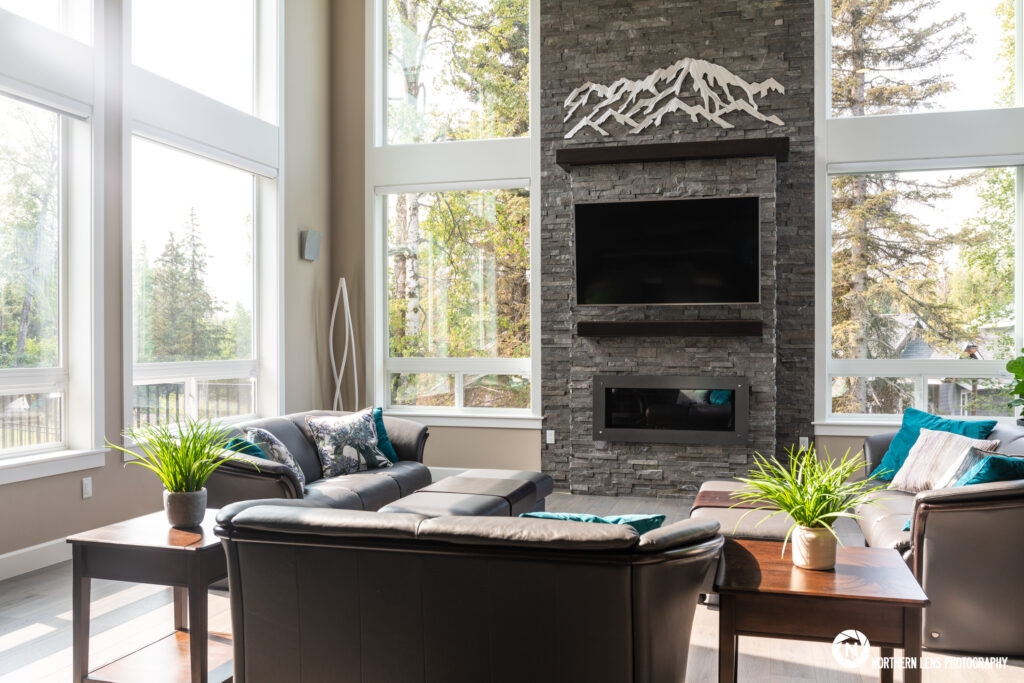
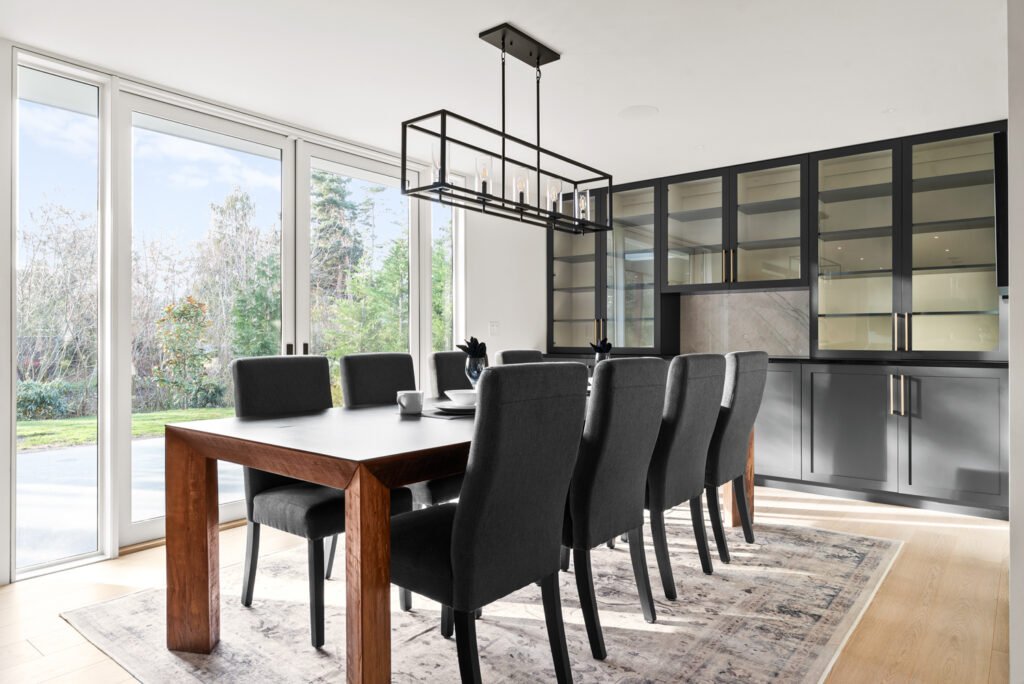
Preparing your home for a professional photoshoot, whether it’s for real estate, interior design, or a heartfelt family portrait session, is crucial for achieving stunning results. A well-prepared space allows your photographer from Photos in the House to capture your home’s true beauty, showcasing its best features and creating images that tell your story. Think of it as setting the stage for a masterpiece. By following a few simple steps, you can significantly enhance the quality of your home photography and ensure a smooth, efficient session.

Decluttering & Cleaning: The Foundation for Flawless Photos

This is perhaps the most critical step in preparing your house for a photoshoot. A cluttered or untidy space distracts from the main subject – your beautiful home.
Start with a Deep Clean
Before anything else, give your home a thorough cleaning. This includes dusting all surfaces, vacuuming carpets, mopping floors, cleaning windows and mirrors (no streaks!), and ensuring bathrooms and kitchens sparkle. Pay attention to often-overlooked areas like baseboards, light fixtures, and ceiling fans. A spotless environment makes a world of difference in professional photos.
Declutter Every Surface
Clear off countertops, coffee tables, bedside tables, and shelves. Remove excess decorative items, mail, personal papers, remote controls, and chargers. The goal is to create clean, open surfaces that allow the eye to focus on the room itself, not its contents. Remember, less is often more when it comes to interior photography.
Personal Items: Out of Sight, Out of Mind
While a home should feel lived-in, highly personal items can be distracting in photos, especially for real estate. This includes family photos, excessive religious items, and highly unique decor that might not appeal to everyone. For family photoshoots, we can strategically incorporate some, but for showcasing the house itself, it’s best to minimize. Store these items away in closets, drawers, or temporary storage boxes. Don’t forget to hide pet bowls, toys, and litter boxes.
Optimizing Lighting & Ambiance: Let There Be Light!

Lighting is paramount in house photography. It dictates the mood, highlights architectural details, and makes spaces feel open and inviting.
Natural Light is Your Best Friend
Aim to schedule your photoshoot during daylight hours when your home receives the most natural light. On the day of the shoot, open all curtains, blinds, and drapes to let in as much natural light as possible. Clean windows will enhance this even further.
Strategic Lighting Choices
Turn on all interior lights, including overhead lights, lamps, and accent lighting. Use consistent light bulb temperatures (e.g., all warm white or all cool white) throughout the home if possible, as mixed temperatures can create color inconsistencies in photos. Your photographer will adjust these as needed, but having them on provides a bright starting point.
Open Up the Space
Consider opening interior doors to create a sense of flow and expand the perceived size of rooms. This helps the photographer capture wider angles and show how rooms connect, which is excellent for interior photography and showcasing your home’s layout.
Staging & Arrangement: Showcase Your Home’s Best Features

This is where you make your home truly shine. Thoughtful staging enhances visual appeal and helps potential buyers or viewers envision themselves in the space.
Furniture Arrangement for Flow
Ensure furniture is arranged to maximize space and create clear pathways. Push furniture slightly away from walls to give rooms more depth. Arrange seating areas to look inviting and conversational. For bedrooms, make sure beds are neatly made with fresh linens.
Add Touches of Life (without overdoing it)
Subtle decorative elements can make a room feel more appealing. Fresh flowers, a bowl of fruit, a stack of aesthetically pleasing books, or neatly folded throws can add warmth and color. However, avoid cluttering surfaces you just cleared. The goal is to enhance, not overwhelm.
Exterior & Curb Appeal Matters (Even for Interior Shots)
Even if the primary focus is interior photography, the exterior creates the first impression. Ensure your lawn is mowed, hedges are trimmed, and pathways are clear. Hide garbage cans and clear away garden tools. For family photoshoots at home, a well-maintained exterior can provide a beautiful backdrop for outdoor shots.
The Day Of: Last-Minute Checks & Relaxation

Quick Tidy-Up
Do a final walk-through just before your photographer arrives. Fluff pillows, straighten rugs, and put away any last-minute items. Ensure all light bulbs are working.
Be Ready for Your Photographer
Have easy access to any areas you specifically want photographed or details you want to highlight. Trust your photographer’s expertise; they’ll guide you through the process. Your role is to relax and let “Photos in the House” capture the magic.
Conclusion
By investing a little time in home photoshoot preparation, you empower “Photos in the House” to deliver the best possible results. Whether you’re aiming to sell your property, showcase your design flair, or simply preserve precious family moments, these tips will help create an ideal canvas for stunning, professional photography. Get ready to see your home in a new light!

